Properly Prepping Your Walls before Painting
Prepping Walls for Paint

The Ultimate Guide to Preparing Your Walls for a Flawless Paint Job
Step-by-step advice on cleaning, patching, and priming walls for a professional-quality finish.
When it comes to achieving a flawless paint job, preparation is everything. Skipping or rushing through wall prep can lead to uneven paint, peeling, or visible imperfections. Professional painters know this well—they often spend as much time preparing walls as they do painting them. If you’re ready to transform your space with a fresh coat of paint, it’s essential to take the necessary steps to ensure your walls are ready. With careful preparation, you’ll create a surface that allows your paint to shine. Here’s the ultimate guide to preparing your walls for a professional-quality finish.
The first step in any successful painting project is clearing and protecting the area. Remove all furniture, artwork, and curtains from the room to give yourself an unobstructed workspace. For items that are too large to move, cover them with drop cloths or plastic sheeting. Floors should also be protected to prevent damage from dust or accidental paint spills. Painter’s tape is a valuable tool for masking off trim, windows, outlets, and baseboards, ensuring clean, sharp lines when it’s time to paint.
Once the space is cleared, it’s time to inspect and clean the walls. Over time, walls collect dust, grease, and grime, especially in high-traffic areas like kitchens and bathrooms. Painting over dirty walls can prevent paint from adhering properly, resulting in an uneven finish. Start by dusting the walls with a microfiber cloth or a vacuum equipped with a brush attachment. For areas with more buildup, such as kitchen walls, use warm water mixed with mild dish soap to scrub away grease and grime. Rinse with clean water and allow the walls to dry completely. If you encounter stubborn stains like crayon marks or nicotine discoloration, a mixture of vinegar and water or a commercial wall cleaner should do the trick.

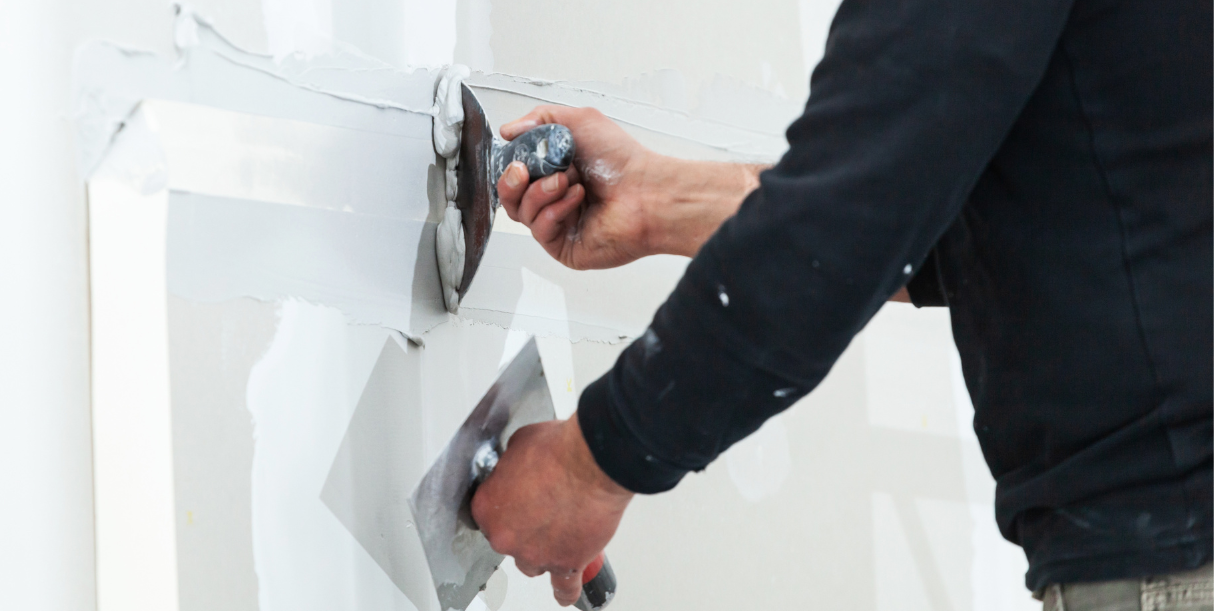
After the walls are clean, the next step is to repair any imperfections. Take a close look at the surface to identify issues like nail holes, cracks, or peeling paint. These flaws can become even more pronounced after painting if not addressed. For small holes and cracks, apply spackling paste or lightweight filler with a putty knife. Smooth the edges and allow the filler to dry thoroughly before moving on. Larger holes may require a patch kit, which typically includes a self-adhesive patch and joint compound to create a seamless repair. Sand these areas smooth once they’re dry to ensure a uniform surface.
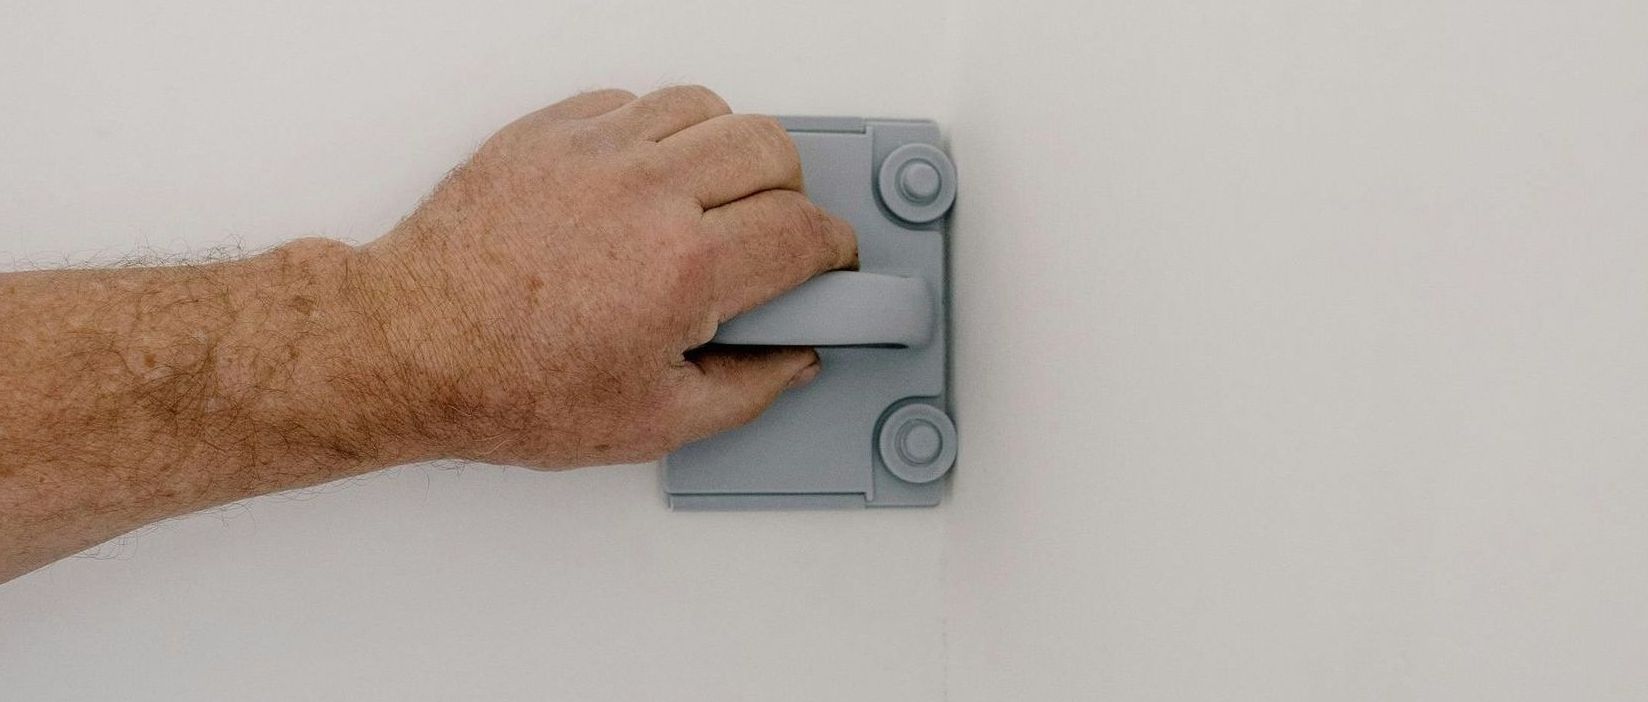
Even if your walls look smooth, sanding the entire surface lightly is a crucial step. Sanding creates a slightly roughened texture that helps the paint adhere better and prevents it from peeling over time. Use fine-grit sandpaper, around 120 to 150 grit, to lightly sand the walls in a circular motion. Focus on areas you’ve patched, as filler materials can leave a texture that differs from the rest of the wall. After sanding, wipe the walls with a damp cloth or tack cloth to remove any lingering dust. Other materials and tools listed in this article can be purchased at any hardward or paint store. Our preferred paint supplier is Sherwin-Williams, but that is mostly for paint, tools can be bought at your closest hardware store.
Stains and discolorations, such as watermarks or marker scribbles, can bleed through fresh paint if not properly treated. Applying a stain-blocking primer to these areas is the best way to ensure they remain hidden. For smaller stains, spot priming may be sufficient, but for best results, consider priming the entire wall. Primer not only hides stains but also provides a uniform base that enhances the paint’s color and durability. When choosing a primer, ensure it’s compatible with your paint type; water-based primers pair well with latex paint, while oil-based primers are ideal for oil paints or heavily stained surfaces.

Before you start painting, take a final look at the walls to ensure they’re perfectly prepped. Shine a flashlight at an angle to spot any missed imperfections or rough patches. Make any necessary adjustments by sanding or applying more filler. If your walls have a glossy or non-porous surface, lightly sand or use a deglosser to improve paint adhesion. Finally, vacuum the room thoroughly to remove any dust that could ruin your paint finish. You are now ready to paint, or it you've changed your mind, you can contact reach out to a local company like
College Station Painting, and let them take care of the details.
Proper wall preparation might feel like an extra step, but it is the foundation of a flawless, long-lasting paint job. Clean, patched, and primed walls create a smooth surface that not only looks stunning but also extends the life of your paint. Taking the time to follow these steps will ensure your efforts pay off, giving you a professional-quality finish that transforms your space.
By investing in preparation, you’re setting yourself up for success. The results speak for themselves: a smooth, even finish that elevates any room. So, gather your tools, clear the area, and start prepping. Your perfect paint job is just a few steps away.
Book a Service Today
We will get back to you as soon as possible
Please try again later
Call
All Rights Reserved | College Station Painting.


